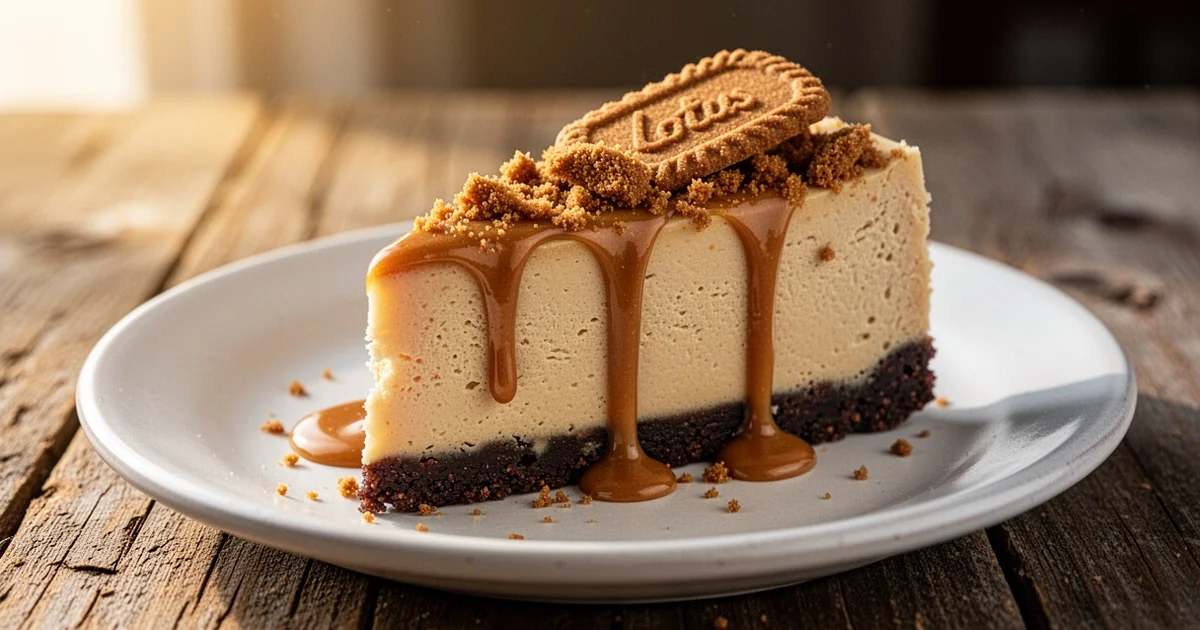
Ultimate No-Bake Lotus Biscoff Cheesecake: Creamy, Crunchy & Irresistible
This no-bake Lotus Biscoff cheesecake is the ultimate dessert for cookie butter lovers. With a crunchy Biscoff crust, a silky smooth cheesecake filling, and a decadent cookie butter topping, it's surprisingly easy to make and requires no oven time. Perfect for parties, holidays, or whenever you need a show-stopping treat.
Why You'll Love This No-Bake Lotus Biscoff Cheesecake
If you're a fan of the iconic caramelized Biscoff cookies and their creamy spread counterpart, this cheesecake is your dream dessert. It's rich, velvety, and packed with that unmistakable spiced cookie flavor in every single bite. The best part? You don't even need to turn on your oven — it's completely no-bake, making it perfect for warm days or when you want a fuss-free showstopper.
This recipe is surprisingly simple, with just a handful of ingredients and straightforward steps. The crust is made from crushed Biscoff cookies and melted butter, pressed into a springform pan for that satisfying crunch. The filling is a dreamy combination of cream cheese, powdered sugar, heavy cream, and — of course — generous swirls of Lotus Biscoff spread.
Whether you're celebrating a birthday, hosting a dinner party, or just treating yourself, this cheesecake is guaranteed to impress. It's a crowd-pleaser that disappears fast — trust me, you'll want to make a double batch! Let's dive into how to make this irresistible dessert.
Ingredients You'll Need
Here's your shopping list for this no-bake Lotus Biscoff cheesecake. I've organized it by component so you can easily see what you need for the crust, filling, and topping.
🛒 Ingredients Checklist
- 2 ½ cups Lotus Biscoff cookies (about 200g), crushed
- 6 tbsp unsalted butter, melted
- 16 oz cream cheese, softened to room temperature
- ½ cup powdered sugar
- 1 tsp vanilla extract
- 1 ¼ cups heavy cream (cold)
- ½ cup Lotus Biscoff spread (creamy), plus more for topping
- ¼ cup crushed Biscoff cookies for garnish(optional)
How to Make No-Bake Lotus Biscoff Cheesecake
This recipe is straightforward, but I'll walk you through each step to ensure perfect results. The key is to let the cheesecake set in the fridge for at least 6 hours — overnight is even better — so be sure to plan ahead.
No-Bake Lotus Biscoff Cheesecake
🥕Ingredients
Adjust servings above — amounts scale automatically. Tap an ingredient to check it off.
- 2 ½ cups Lotus Biscoff cookies crushed
- 6 tbsp unsalted butter melted
- 16 oz cream cheese softened
- ½ cup powdered sugar
- 1 tsp vanilla extract
- 1 ¼ cups heavy cream cold
- ½ cup Lotus Biscoff spread creamy
📋Instructions
- 1
In a medium bowl, combine crushed Biscoff cookies and melted butter. Stir until all crumbs are moistened. Press firmly into the bottom of a 9-inch springform pan. Place in refrigerator while you prepare filling.
- 2
In a large bowl, beat cream cheese with an electric mixer until smooth and creamy. Add powdered sugar and vanilla; beat until combined.
- 3
In a separate chilled bowl, whip heavy cream until stiff peaks form (about 3-4 minutes).
- 4
Gently fold whipped cream into cream cheese mixture in two additions until fully incorporated and smooth.
- 5
Microwave Biscoff spread for 15-20 seconds until slightly runny. Drizzle half of it over the cheesecake filling and gently swirl with a knife or spatula. Pour filling over crust and spread evenly. Drizzle remaining Biscoff spread on top and swirl again.
- 6
Refrigerate for at least 6 hours, preferably overnight, until set. Before serving, garnish with additional crushed Biscoff cookies and a drizzle of warm Biscoff spread if desired.
💡 Pro Tips
- •Make sure cream cheese is at room temperature to avoid lumps in the filling.
- •For clean slices, dip a knife in hot water, wipe dry, and slice. Clean knife between cuts.
- •The cheesecake can be made a day in advance — it actually tastes better after resting overnight.
Nutrition per serving(based on original recipe — does not scale)
Pro Tips for the Perfect No-Bake Cheesecake
To ensure your cheesecake sets properly and has that ideal creamy texture, here are a few tips I've learned from making this recipe countless times. Trust me, these little details make all the difference.
Pro Baking Tip
For the fluffiest filling, make sure your heavy cream is very cold (chill the bowl and beaters too). This helps the cream whip up faster and hold its peaks longer, giving the cheesecake a light, mousse-like texture.
When pressing the crust, use the bottom of a measuring cup or a flat glass to get it even and compact. This prevents the crust from crumbling when you slice. Also, don't overmix the filling once you add the whipped cream — fold gently to keep it airy.
If your Biscoff spread is too thick to swirl, microwave it in 10-second increments until it reaches a drizzling consistency. Be careful not to overheat it. You want it just loose enough to marble through the filling without sinking completely.
Serving Suggestions
This Lotus Biscoff cheesecake is fabulous on its own, but if you want to take it over the top, serve it with a dollop of whipped cream, extra cookie crumbles, and a drizzle of warm Biscoff spread. It also pairs beautifully with a cup of coffee or a glass of cold milk.
For a fun presentation, you can serve individual slices on plates with a side of fresh berries — the tartness of raspberries or strawberries cuts through the richness perfectly. Or try it with vanilla ice cream for an extra indulgent dessert.
❓ Frequently Asked Questions
Final Thoughts
This no-bake Lotus Biscoff cheesecake is everything you want in a dessert: creamy, crunchy, rich, and incredibly satisfying. It's surprisingly easy to make, requires no oven, and always gets rave reviews. Whether you're a seasoned baker or a beginner, this recipe is foolproof and absolutely delicious.
I hope you love this recipe as much as I do! If you make it, be sure to share your creation on social media and tag me — I can't wait to see your beautiful cheesecakes. Happy baking (or rather, no-baking)!

Written by
Elena RossiI'm Elena, a home cook turned recipe developer. At cooking word, I share simple, seasonal dishes inspired by my Italian roots and busy life.
Get New Posts by Email
Weekly inspiration delivered to your inbox. No spam, pinky promise.
Comments
Leave a Comment
You Might Also Like
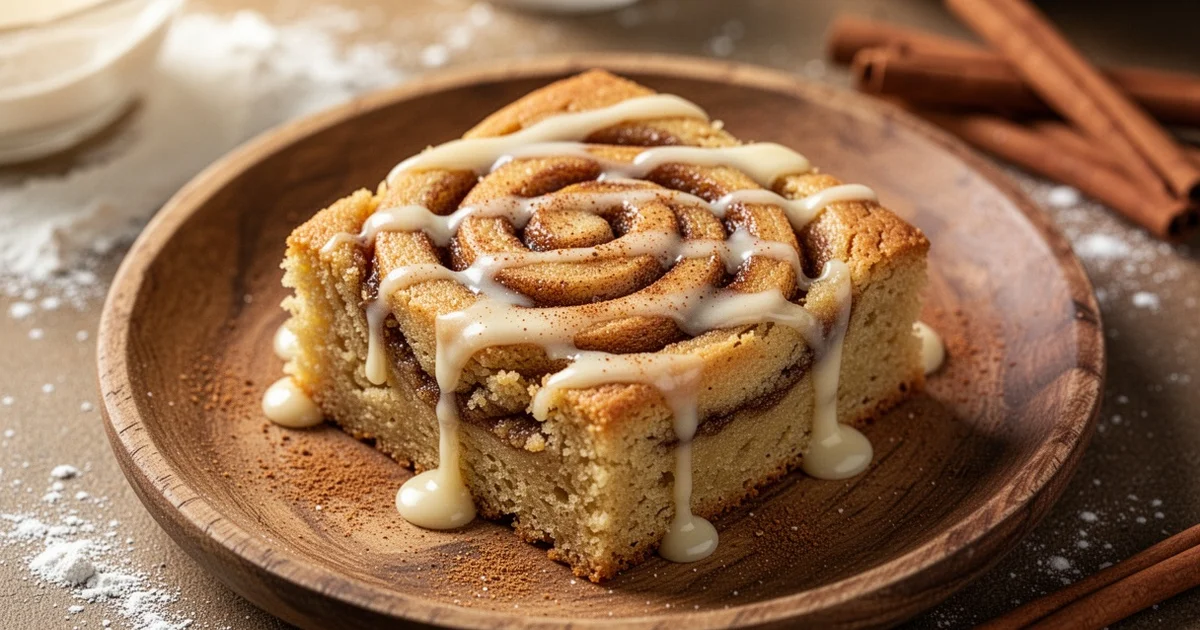
Extra Gooey Cinnamon Roll Blondies: The Ultimate 30-Minute Dessert
These cinnamon roll blondies are the perfect fusion of chewy blondie and gooey cinnamon roll. Ready in just 30 minutes with one bowl, they're an easy and irresistible dessert for any occasion.
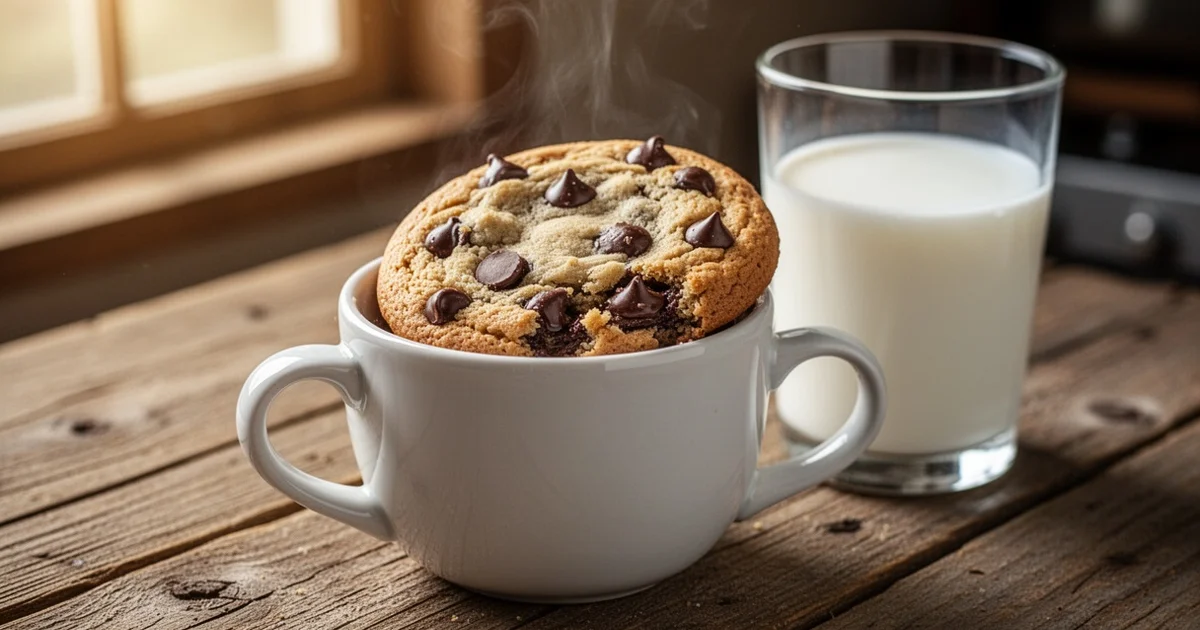
Extra Fudgy Microwave Chocolate Chip Cookie in 1 Minute (Single Serve)
Craving a warm, gooey chocolate chip cookie but don't want to bake a whole batch? This single-serve microwave cookie is ready in just 1 minute and tastes absolutely incredible—crispy edges, soft center, and loaded with melted chocolate chips.
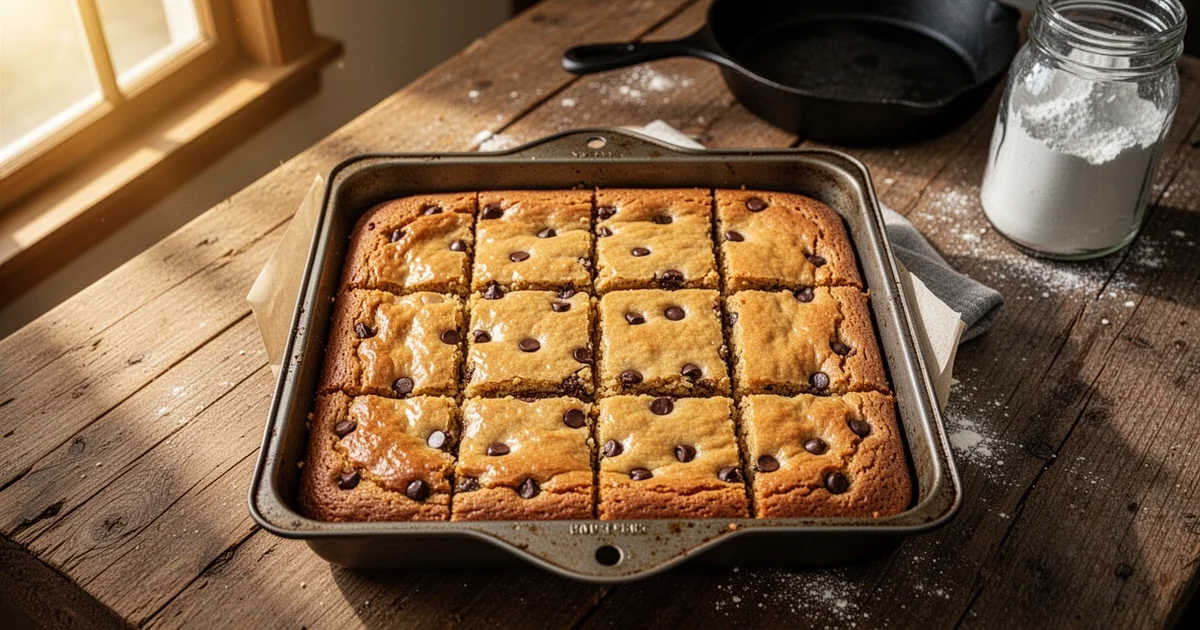
Fudgy One-Bowl Brown Butter Blondies: A 30-Minute Dessert
These brown butter blondies are rich, nutty, and incredibly fudgy. Made in one bowl with simple ingredients, they come together in just 30 minutes. Perfect for a quick dessert fix or sharing with friends.