Easy Apple Crumble Bars: The Perfect Fall Dessert You'll Make Again and Again
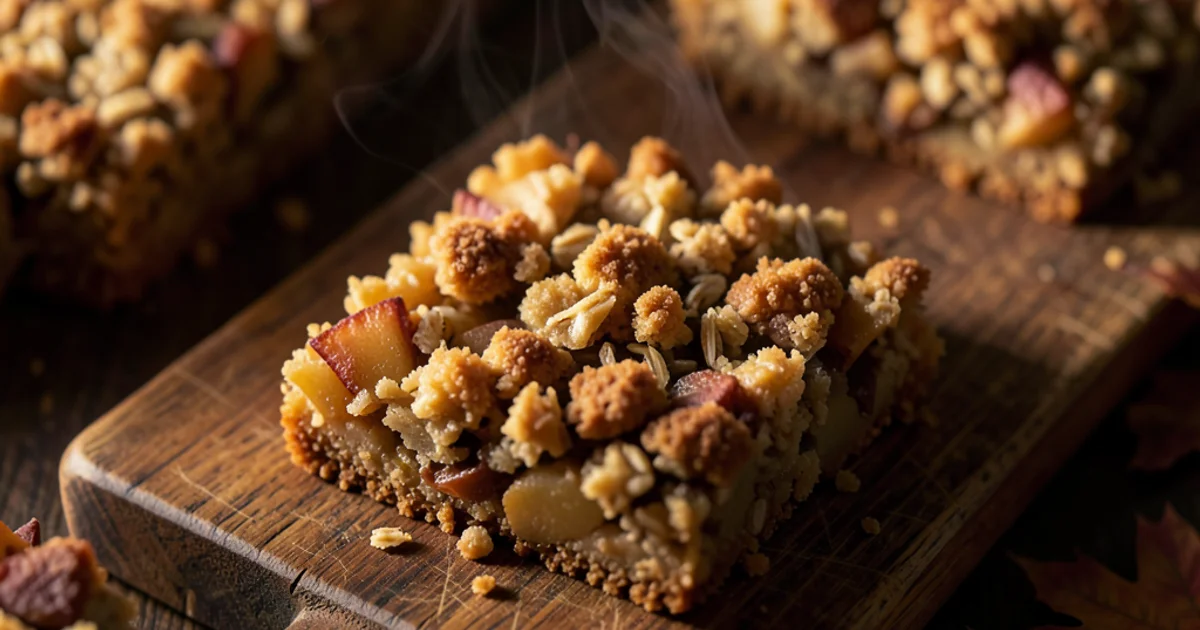
These apple crumble bars combine the cozy flavors of autumn with the convenience of a handheld treat. With a buttery shortbread crust, spiced apple filling, and crunchy oat topping, they're perfect for everything from school lunches to holiday gatherings. I'll show you exactly how to make them with simple ingredients and foolproof steps.
Advertisement
Why These Apple Crumble Bars Will Become Your Go-To Fall Treat
When the leaves start turning and there's that crispness in the air, I find myself craving all things apple and cinnamon. These apple crumble bars are my absolute favorite way to capture that autumn magic in a portable, shareable form. They've got everything you love about traditional apple crisp but in a neat, sliceable bar that's perfect for packing in lunchboxes or serving at gatherings. What I love most is how forgiving this recipe is - even if you're not a confident baker, you'll end up with something delicious. Plus, they fill your kitchen with that incredible warm-spice aroma that just screams 'cozy season'.
What You'll Need
Before we dive into the recipe, let's talk about what makes these bars so special. The magic happens in three layers: a buttery shortbread-like crust that holds everything together, a sweet-tart apple filling that's perfectly spiced, and that irresistible crumble topping that gives you that satisfying crunch. You probably have most of these ingredients in your pantry already, which makes this recipe perfect for those last-minute 'I need to bring something' moments. I'll walk you through each ingredient and why it matters for the final result.
🛒 Ingredients Checklist
- 2 cups all-purpose flour
- 1 cup old-fashioned rolled oats
- 1 cup packed brown sugar
- 1 tsp ground cinnamon
- 1/2 tsp ground nutmeg
- 1/2 tsp baking soda
- 1/4 tsp salt
- 1 cup unsalted butter, melted and cooled slightly
- 4 cups peeled and diced apples (about 4 medium apples)
- 1/4 cup granulated sugar
- 2 tbsp all-purpose flour
- 1 tsp vanilla extract
- 1 tbsp lemon juice(optional)
Let's Make These Delicious Bars
Easy Apple Crumble Bars
🥕Ingredients
Tap to check off as you go
- 2 cups all-purpose flour
- 1 cup old-fashioned rolled oats
- 1 cup packed brown sugar
- 1 tsp ground cinnamon
- 1/2 tsp ground nutmeg
- 1/2 tsp baking soda
- 1/4 tsp salt
- 1 cup unsalted butter, melted and cooled slightly
- 4 cups peeled and diced apples (about 4 medium apples)
- 1/4 cup granulated sugar
- 2 tbsp all-purpose flour
- 1 tsp vanilla extract
- 1 tbsp lemon juice
📋Instructions
- 1
Preheat your oven to 350°F (175°C). Line a 9x13 inch baking pan with parchment paper, leaving some overhang on the sides for easy removal.
- 2
In a large bowl, whisk together 2 cups flour, oats, brown sugar, cinnamon, nutmeg, baking soda, and salt. Pour in the melted butter and mix until everything is evenly moistened and crumbly.
- 3
Reserve 1½ cups of the oat mixture for the topping. Press the remaining mixture firmly into the bottom of your prepared pan to form an even crust layer.
- 4
In another bowl, toss the diced apples with granulated sugar, 2 tablespoons flour, vanilla extract, and lemon juice until the apples are evenly coated.
- 5
Spread the apple mixture evenly over the crust layer in the pan, pressing down gently.
- 6
Sprinkle the reserved oat mixture evenly over the apples, breaking up any large clumps with your fingers.
- 7
Bake for 35-40 minutes, or until the topping is golden brown and the apples are tender when pierced with a fork.
- 8
Let the bars cool completely in the pan on a wire rack - this is crucial for clean slicing! Once cooled, use the parchment paper to lift the entire slab out of the pan before cutting into 16 bars.
💡 Pro Tips
- •Use a mix of apple varieties like Granny Smith and Honeycrisp for the best flavor and texture balance
- •Don't skip the parchment paper - it makes removing and cutting the bars so much easier
- •Let the bars cool completely before cutting for clean edges
Nutrition per serving
Pro Tips for Perfect Bars Every Time
Beyond that butter trick, there are a few other things that can take your bars from good to amazing. First, really press that bottom crust layer firmly into the pan - I mean get in there with the bottom of a measuring cup and press hard. This prevents the crust from crumbling when you cut the bars. Second, don't be tempted to cut into them while they're still warm. I know it's hard to wait, but that cooling time allows everything to set up properly. Finally, if you want to get fancy, you can add a handful of chopped pecans or walnuts to the topping mixture for extra crunch.
How to Serve and Store Your Bars
These bars are incredibly versatile when it comes to serving. For a simple treat, they're perfect just as they are with a cup of coffee or tea. If you're feeling fancy, warm them slightly and serve with a scoop of vanilla ice cream or a dollop of whipped cream - the warm-cold contrast is divine. They're also excellent for packed lunches, picnics, or as a grab-and-go breakfast (hey, there's fruit in there!). Store them in an airtight container at room temperature for up to 3 days, or freeze them for up to 2 months. Just thaw at room temperature when you're ready to enjoy.
Frequently Asked Questions
❓ Frequently Asked Questions
Wrapping Up Your Autumn Baking Adventure
Advertisement
I hope these apple crumble bars bring as much joy to your kitchen as they have to mine. They're one of those recipes that feels special but is actually incredibly simple to make. Whether you're baking for a crowd, meal prepping for the week, or just treating yourself on a cozy afternoon, these bars deliver that perfect taste of autumn in every bite. Don't be surprised if this becomes your most-requested recipe once your friends and family try them. Happy baking, and enjoy every delicious moment!

Written by
Maya ChenI'm Maya, the heart behind yaya, where I share my lifelong passion for creating delicious, approachable meals that bring people together. Through yaya, you'll discover recipes that blend my Chinese heritage with global flavors, plus practical tips to make cooking joyful rather than overwhelming.
Get New Posts by Email
Weekly inspiration delivered to your inbox. No spam, pinky promise.
Comments
Leave a Comment
Advertisement